Acer Nitro 5 is an amazing gaming laptop with top-notch features that supports high graphics resolution for gaming while adequately maintaining the CPU and Graphics Card temperature with two built-in fans. It also allows you to control the laptop cooling with Acer Nitro Sense, depending on your requirements. I have been using the Acer Nitro 5 for a year now and have nothing but praises for it. My laptop is equipped with AMD Ryzen 5 with Radeon Vega Gfx, 8 GB RAM, 250GB M.2 SSD and pre-installed Windows 10 OS.
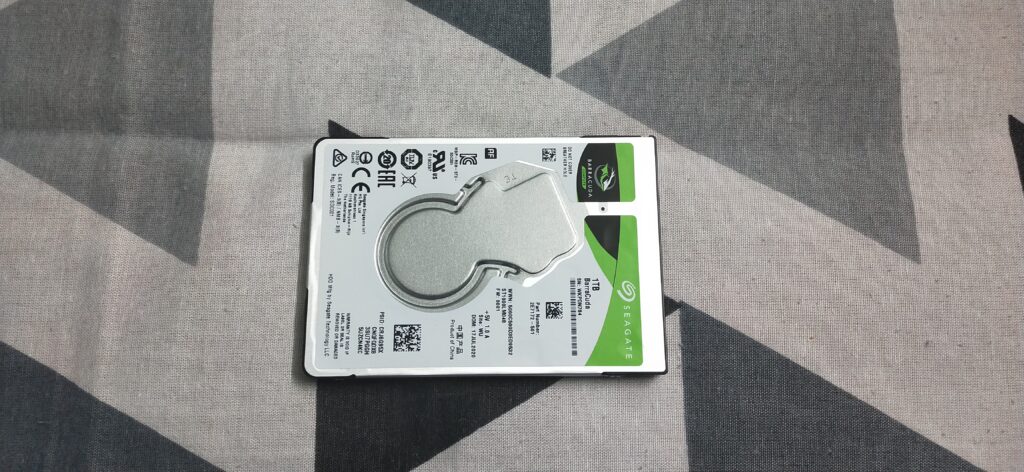
With narrow bezel and IPS display, Nitro 5 brings a great display for users. The powerhouse of a laptop is only limited by the disk space size which has also been circumvented by Acer by keeping provision for additional 2.5 inch HDD expansion slot which can be used depending on user need. I have been planning to expand by drive size for a few months now but did not get around to it until recently when I started facing space issue. So, I bought the Seagate 2.5 inch 1TB BarraCuda HDD and decided to upgrade my laptop disk space.
You would need a Screwdriver Set, Plastic Pryer Tool, SATA cable and the screws that came with your laptop to install the HDD.


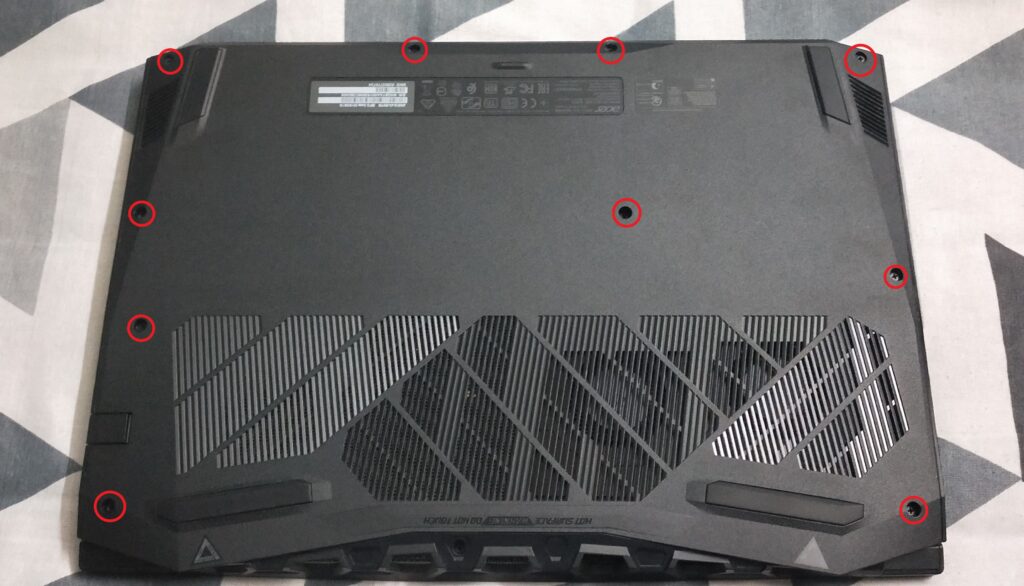
- Disconnect the laptop from the power plug and ensure that it is in shutdown state. Turn over the laptop and unscrew the screws as shown below.
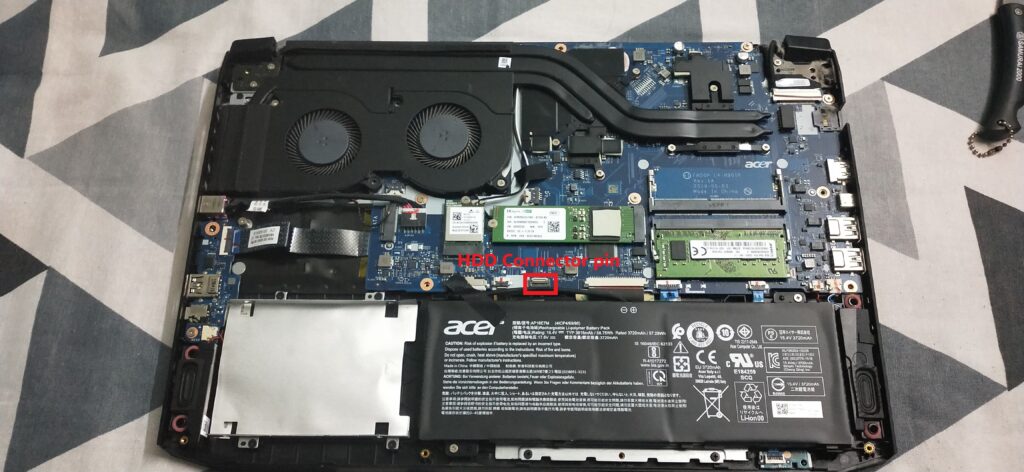
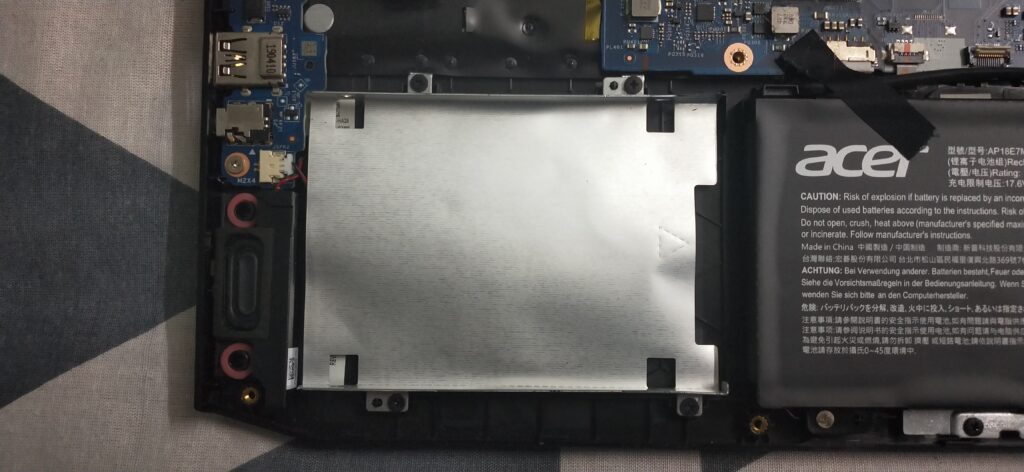
- Once the screws are removed, pry the cover open with the plastic pry tools slowly to get access the HDD slot. You will be able to see the connector for HDD connector as marked below.
- Unscrew the HDD slot by removing the screws marked below
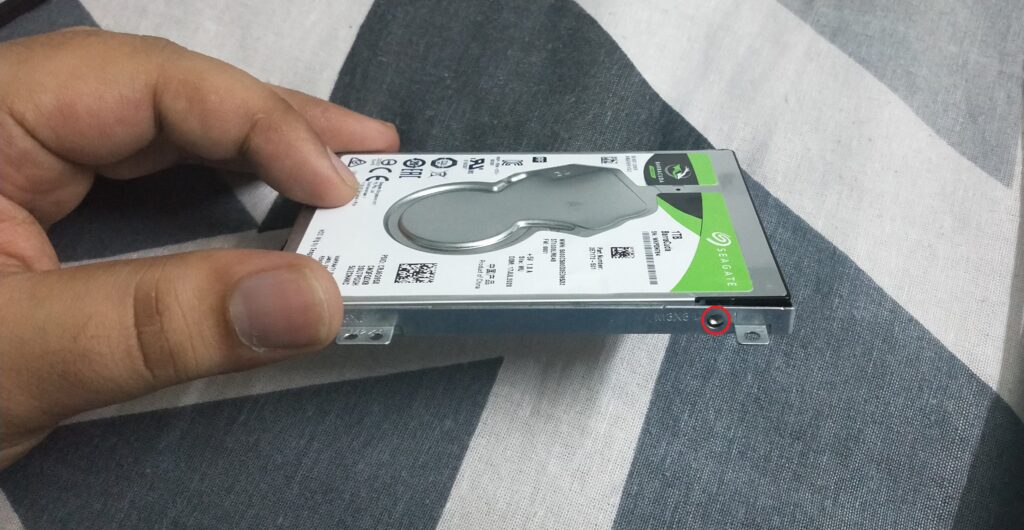
- Place the HDD in the slot as shown below and use the screws provided with the laptop to secure the HDD in the slot. The SATA connector would be pointed towards the arrow marked in the slot.
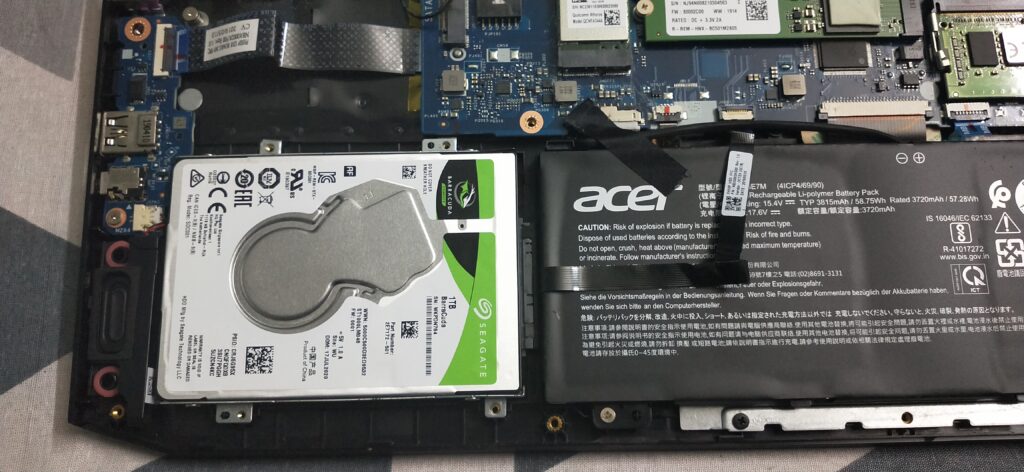
- Once the HDD is secured in the slot, connect the SATA cable, provided with the laptop, with the HDD and the other end of the ribbon in the HDD connector base with locking clip.
- SATA cable comes with sticky tape to secure the connector in place. Secure the SATA cable as shown below and secure the HDD slot in place using the screws. The HDD has been installed successfully.
- Secure the plastic cover using the screws and power up the laptop. You will not be able to see the HDD yet as the volume needs to be configured.
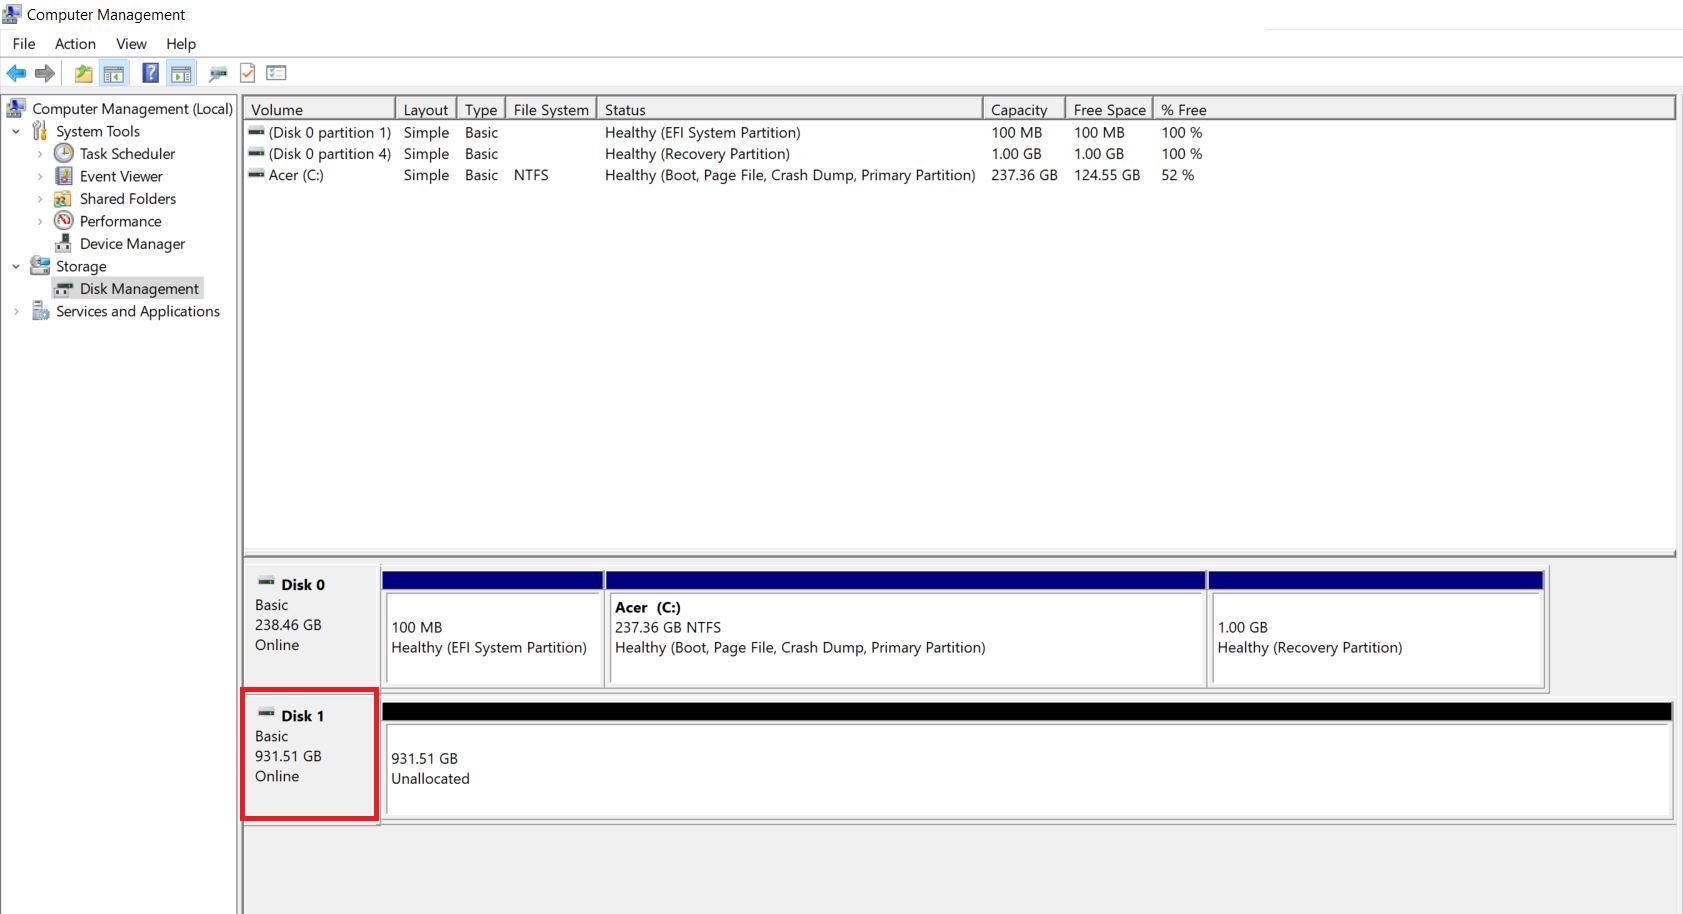
- Navigate to Disk Management under Computer Management Settings Page.

- You will be able to see the drive as unallocated as shown below.

- Right-Click and Initialise the Drive. Follow the steps as shown below.


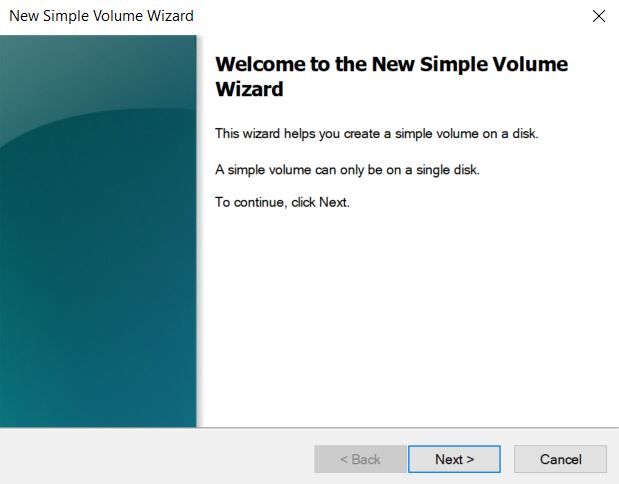
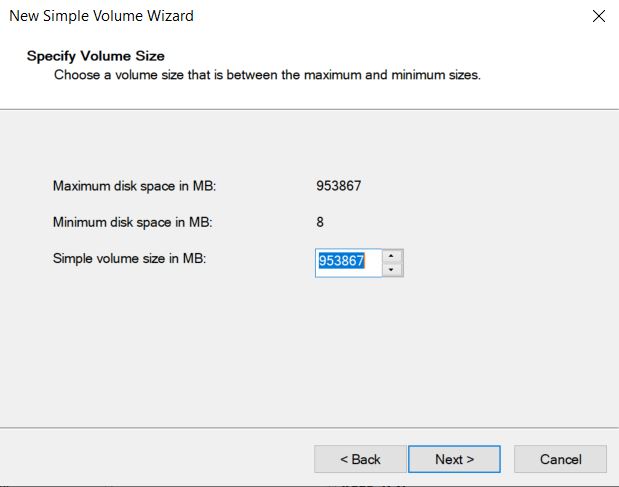
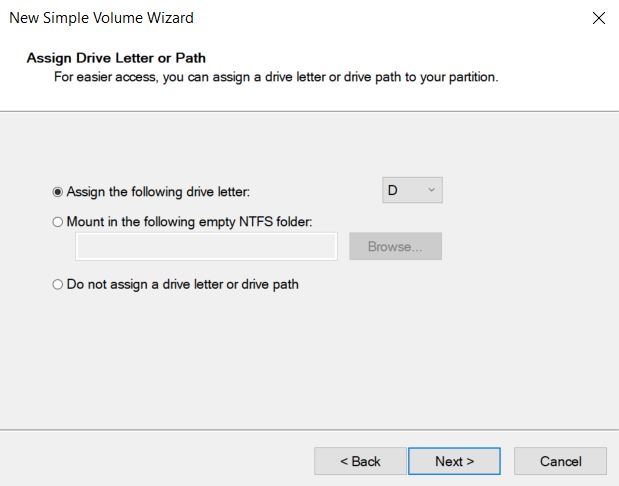
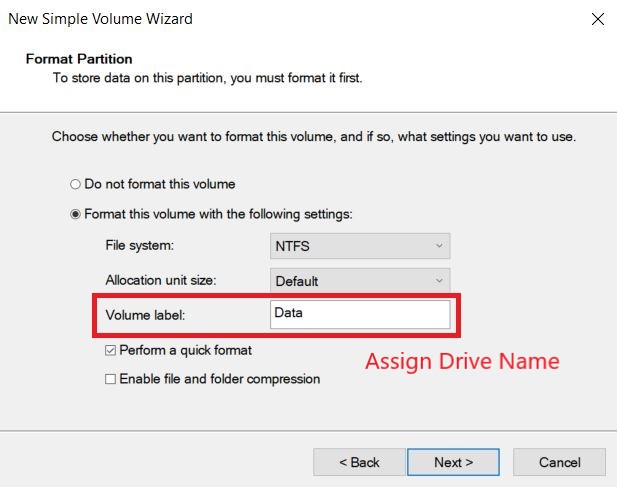
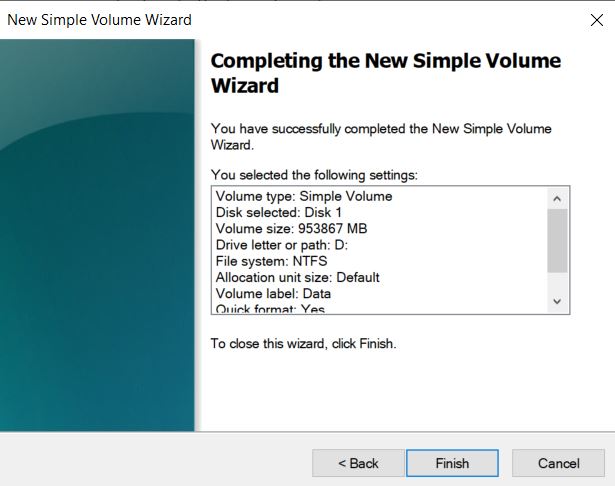
- Once the drive is initialized, you will have to assign the new volume by running the Simple Volume Wizard as shown below.


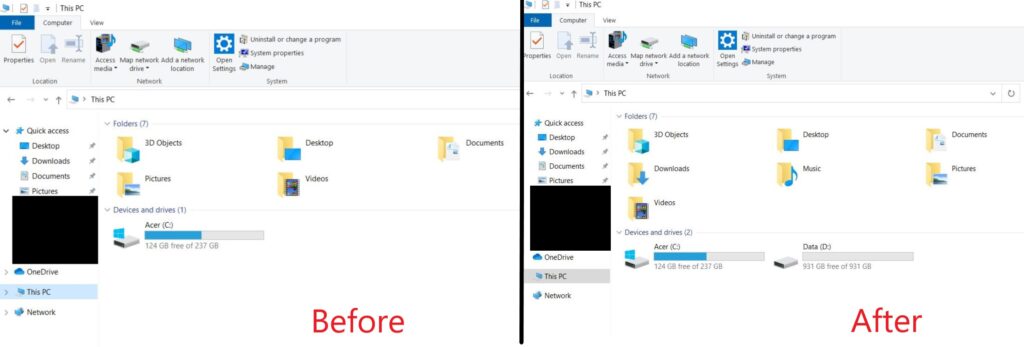
- On completion of Simple Volume Wizard steps, you will be able to see the drive in My Computer, ready to use.